Samsung T3 MU-PT1T0B SSD Data Recovery
The Samsung T3 is a portable solid-state drive (SSD) that was introduced in 2016. It uses a USB 3.1 Gen 1 interface to provide fast data transfer speeds and comes in a compact and lightweight design that is easy to carry.
The Samsung T3 is available in several storage capacities, ranging from 250GB to 2TB. It uses Samsung's V-NAND technology, which stacks memory cells vertically to increase storage density and improve performance. The T3 also includes AES 256-bit hardware encryption, which provides added security for sensitive data.
The T3 is compatible with both Windows and Mac operating systems, and it comes with software that allows users to manage and encrypt their data. Its compact size and durable metal casing make it a popular choice for individuals who need to transport large amounts of data between locations.
Samsung has since released newer models in the T-series, including the T5 and T7, which offer even faster transfer speeds and higher storage capacities.
Samsung T3 Data Recovery Case Log
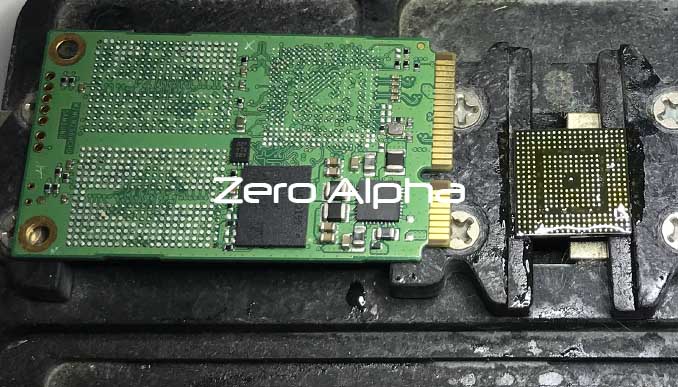
The controller chip is a S4LN062X01-Y030, which has signed firmware. There is not yet a solution for gaining access to this controller, and it appears that performing a chip-off analysis is not possible either.
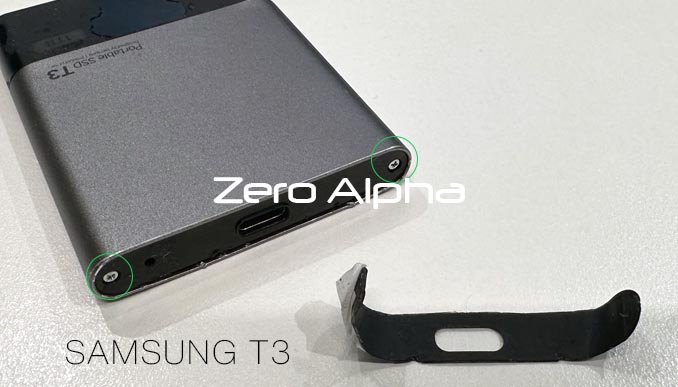
The Samsung USB-C SSD range has hidden screws behind a sticker plate.
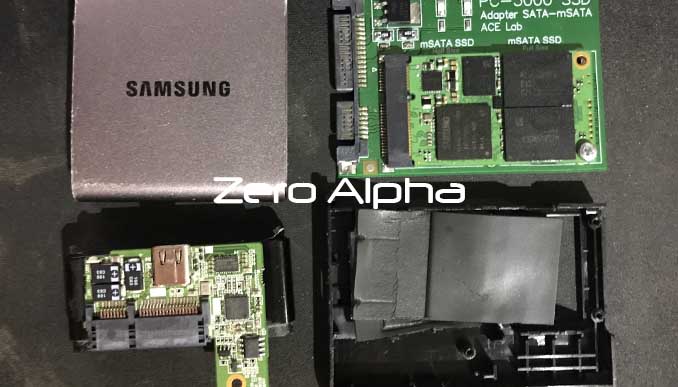
A Samsung T3 SSD drive which has been physically destroyed gets new parts fitted for data recovery
Swapping surface-mount technology (SMT) electronics involves removing a component from a circuit board and replacing it with a new one. SMT components are small and densely packed on the circuit board, so this process requires precision and care to avoid damaging the surrounding components or the board itself.
Here are some general steps to follow when swapping SMT electronics:
-
Identify the component to be replaced and ensure that you have a suitable replacement part. Note the orientation of the component, as SMT parts are often polarized.
-
Use a soldering iron with a fine tip to heat the solder joints that hold the component in place. Use a desoldering pump or wick to remove excess solder and clear the holes.
-
Use tweezers or a small suction tool to gently lift the component from the board. Be careful not to damage any surrounding components or the board itself.
-
Place the replacement component in the correct orientation and ensure that it is flush against the board. Apply a small amount of solder to each of the solder joints, being careful not to use too much.
-
Inspect the component and the surrounding area for any defects or damage. Use a multimeter or other testing equipment to ensure that the component is working properly.
It is important to note that swapping SMT electronics requires advanced soldering skills and the proper tools and equipment. If you are not experienced with SMT soldering, it may be best to seek the assistance of a professional technician to avoid damaging the circuit board or other components.