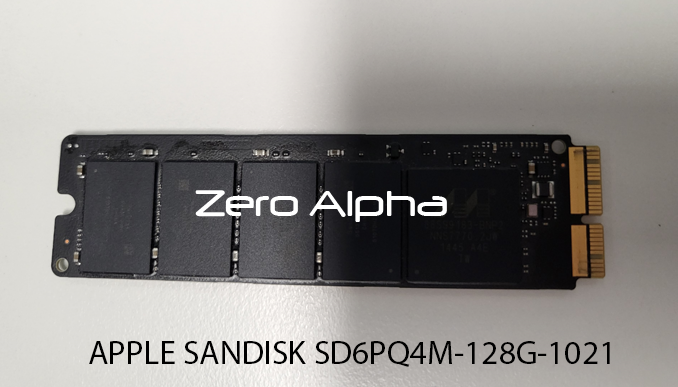
MacBook Air 13" 2012 - 2017 Data Recovery
These laptops were a premium product when released. They are the last generation of removable pci-express based SSD. These laptops can fail for many reasons. Zero Alpha data recovery has years of experience recovering data from this range of MacBook Air's.
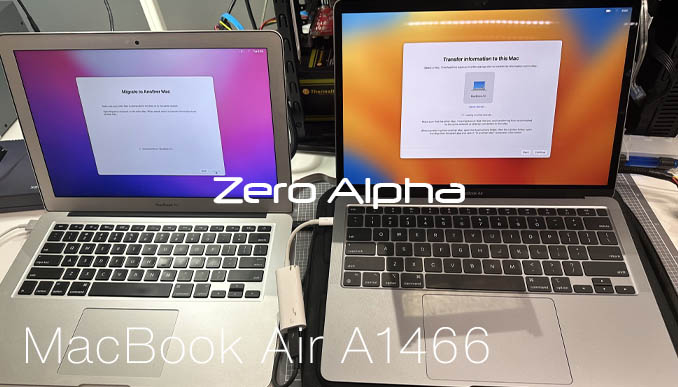
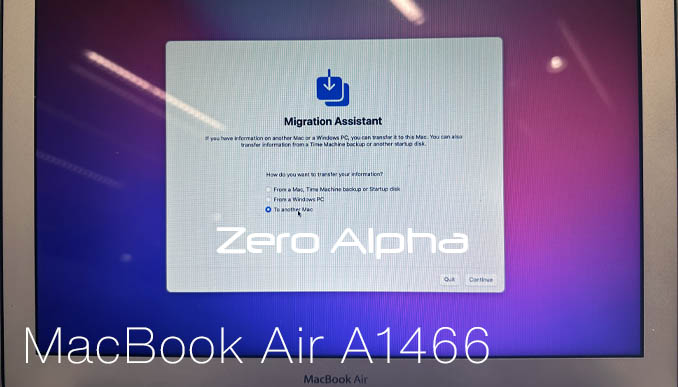
Migration Assistant Data Recovery
This customer only required all their settings and passwords for chrome to be transferred to a new usb-c only macbook air. This requires an adapter for thunderbolt 2 converted to thunderbolt 3. Migration Assistant successfully transfered all files and account settings to the new macbook.
The ssd had been removed by apple service store and given to us for recovery. A Zero Alpha laptop was used to successfully complete the service. The customer was able to test and see all original settings on the macbook and in chrome as if it was the original laptop.
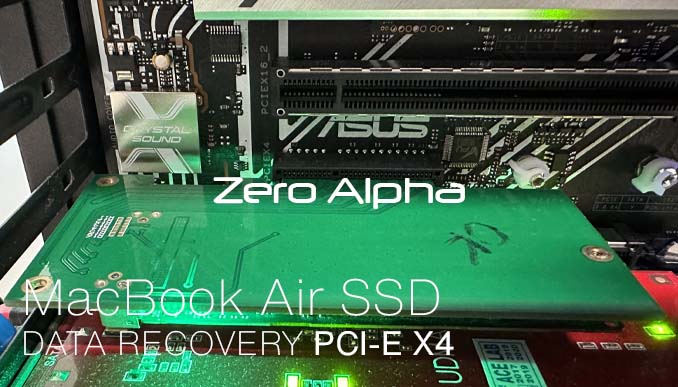
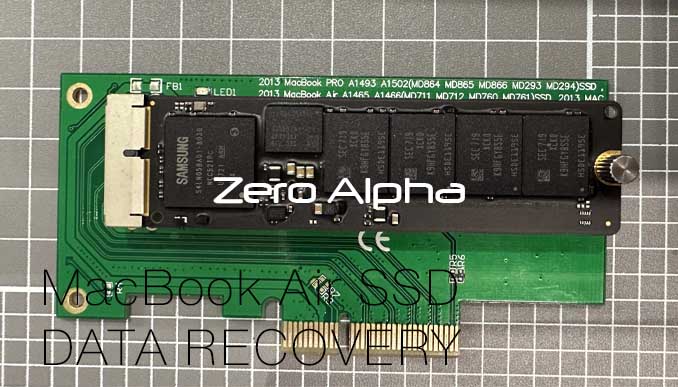
Apple SSD Data Recovery using Adapter
Must be connected to compatible pci-express slot.ย
2012 A1466 with SATA SSD Data Recovery
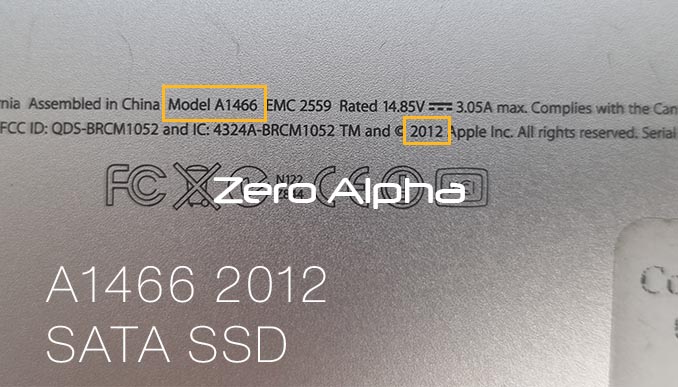
The 2012 A1466 MacBook Air starts off with the SATA SSD. This photo shows the underneath and how to identify which type of SSD you have. If its 2012 its a sata style ssd.
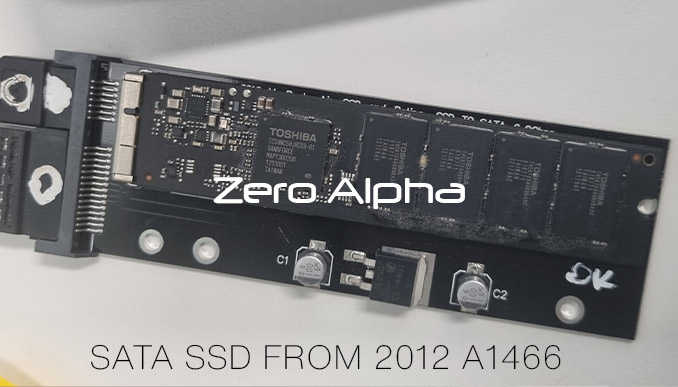
This SSD is faulty and does not detect. Just stays busy (otherwise known as bricked)
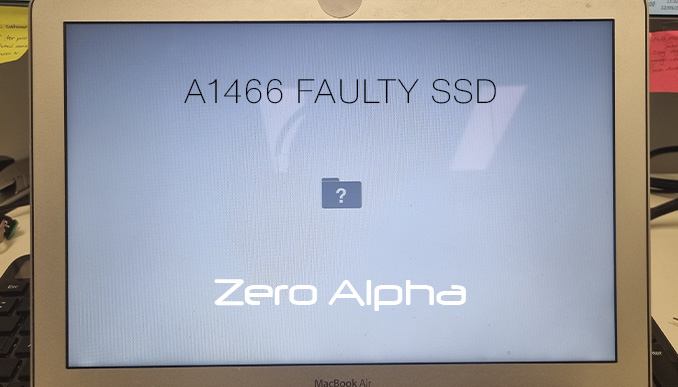
If your SSD is faulty you will get this startup error showing a white screen, folder icon with question mark.
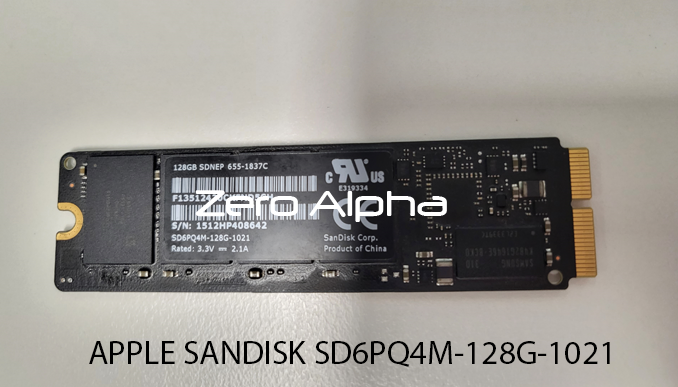
Apple Sandisk SSD - MacBook Air 2015 A1466 FAILED
SSD was not detected on the system. Used freeze spray to determine whether the components were heating up. Confirmed that the controller was warming up. Subsequently, despite being detected on the computer, the drive cannot be accessed via PC3000 or RStudio. Ace Labs have mentioned that these sort of drives could possibly be recovered using the PC3000 Portable but it does not support physical issues for this particular SSD.
Possible culprit is an issue with the controller (88SS9183-BNP2). Controllers are responsible for managing the data stored on the drive and communicates to the computer's operating system. When the controller fails, it can cause the driver to become inaccessible and the computer (in this case, the MacBook) may not boot up. There are several reason why an SSD controller may fail, including:
- Electrical Damage: Controllers are sensitive to electrical spikes and surges which can cause damage.
- Overuse: SSDs have a limited number of write cycles, if the drive is used heavily, the controller may fail prematurely
- Firmware issues: SSD firmware can have bugs and issues that cause the controller to fail
SSD controller failure is a common issue with MacBooks. The only preventable method is to backup your data regularly or reach out to a professional like us, Zero Alpha at 1300 001 211.
Troubleshooting steps
-
Check the Power Connection:
- Make sure your MacBook is connected to a power source.
- Check the power adapter and cable for any visible damage.
- Try a different power outlet.
-
Reset SMC (System Management Controller):
- If the MacBook is not responding, resetting the SMC may help. The process for resetting the SMC varies depending on whether your MacBook has a removable battery or not. For non-removable battery models (like the MacBook Air), follow these steps:
- Shut down your MacBook.
- Press and hold the Shift + Control + Option keys on the left side of the keyboard and the Power button at the same time.
- Release all the keys and the power button at the same time.
- Press the Power button to turn on your MacBook.
- If the MacBook is not responding, resetting the SMC may help. The process for resetting the SMC varies depending on whether your MacBook has a removable battery or not. For non-removable battery models (like the MacBook Air), follow these steps:
-
Check for Display Issues:
- Ensure that the display is working properly. Shine a light on the screen and look for any faint images. If you see a faint image, it could be a backlight issue.
- Connect your MacBook to an external monitor to see if the issue is with the built-in display.
-
Run Apple Diagnostics:
- If your MacBook has diagnostic tools, you can run Apple Diagnostics to check for hardware issues. To do this, turn off your MacBook, then turn it back on while holding down the 'D' key.
-
Inspect for Physical Damage:
- Check for any physical damage to the MacBook, especially around the power button and ports.
-
Try Safe Boot:
- Boot your MacBook in Safe Mode by holding down the Shift key during startup. Safe Boot performs certain checks and prevents unnecessary startup items from loading.
-
Perform a PRAM/NVRAM Reset:
- Restart your MacBook and hold down the Command + Option + P + R keys until you hear the startup chime for the second time.
-
Check for Liquid Damage:
- If your MacBook has been exposed to liquid, there may be internal damage. Check for signs of liquid damage, and if you suspect this is the issue, it's advisable to seek professional assistance.