How to use the CH341A USB Programmer
Software
NeoProgrammer is a more recent version of the open source project ASProgrammer (which can be found on GitHub here), and is compatible with the CH341A . Version 2.2.0.10 of NeoProgrammer can be downloaded here.
Extract the NeoProgrammer V2.2.0.10.zip file. In the subdirectory Drivers/CH341A, run SETUP.EXE and click install. This will install the CH341A drivers.
Hardware
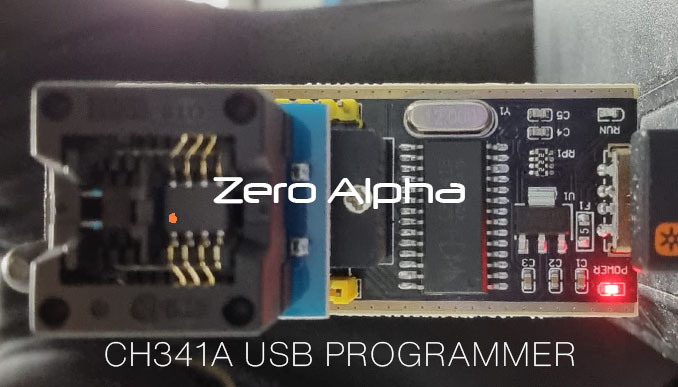
Chip should be oriented according to guide printed on board. The NeoProgrammer software also has a diagram demonstrating the correct configuration.
WARNING: Never write to the patient rom chip!
We are making a backup file only. Never lose the rom chip. If we ever need to make a write or chip modification we always use a spare chip.
Reading
First, press the "Detect IC" button and select the correct chip.
Alternatively, browse the library of chips and select the correct one. If the chip is not detected, make sure it is in the correct slot and is oriented correctly.
We can read the chip with the "Read IC" button. Results can be saved with the "Save File" button.
Writing
Warning! Never write data to the original patient rom chip. Use only a spare chip. We can program the chip with the "Write IC" button. The drop down menu next to the button allows for the enabling/disabling of the protection removal, erasure, blank checking, and verifying steps (see below).

Chip Reading Adapters
It is recommended to clean the chip pins before reading them. Use a scapel to scrape the pins safely.

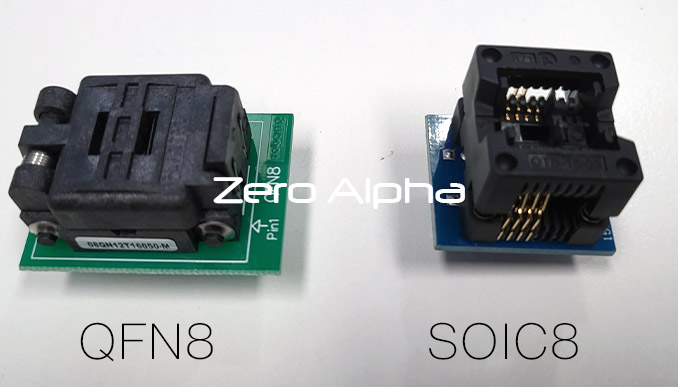
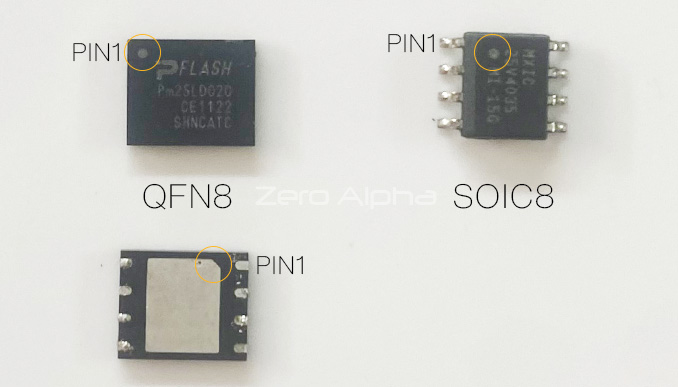
There are 2 common types of rom chips on hard drive: QFN8 and SOIC8 (8 representing 8 pins). Note Pin1 orientation:

Troubleshooting
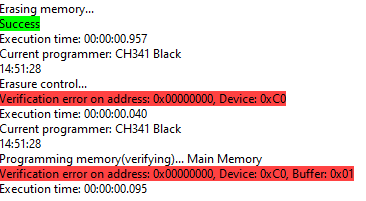
If you get this message in the console, double check that you have installed the CH341A driver.

If you get this message, use USB 3 port for neo programmer

