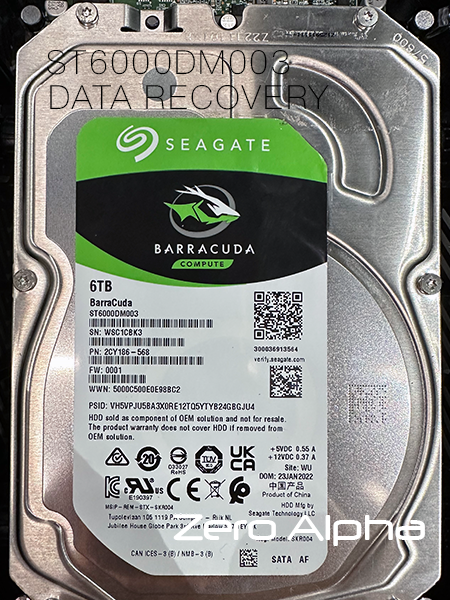
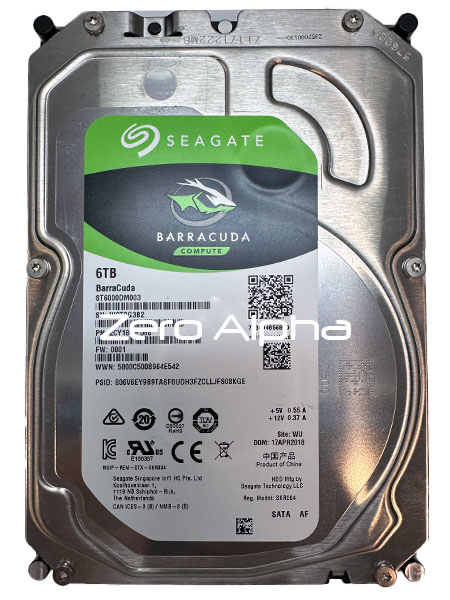
Seagate ST6000DM003 Barracuda Compute Data Recovery
At Zero Alpha Data Recovery, we frequently receive Seagate ST6000DM003 Barracuda Compute 6TB hard drives that have failed under a variety of conditions. This model, part of Seagate’s high-capacity desktop lineup, is designed for reliability and performance—but like all mechanical drives, it has its vulnerabilities. Here are the most common problems we encounter with this specific model.
When a hard drive starts making a clicking noise, it's often a sign of a serious problem. In this case, the Seagate Barracuda drive began emitting this ominous sound after being dropped. Clicking noises typically indicate that the drive's read/write heads are malfunctioning or stuck. This can be caused by physical damage to the heads or platters, making data recovery a daunting task.
Seagate ST6000DM003 Common problems
1. Firmware Corruption (ROM or System Area Failure)
The ST6000DM003 uses adaptive firmware stored on both the PCB and the platters. A power surge, improper shutdown, or internal component failure can corrupt this firmware. Once corrupted, the drive may spin up but remain undetectable by BIOS or the OS. Recovery requires specialized tools to access and repair the firmware modules.
2. Head Stack Failures
Clicking or beeping sounds are often symptoms of head failure. The read/write heads inside this model are extremely sensitive, and when they fail, the heads may park improperly or scratch the platters. Recovery typically involves replacing the head stack in a cleanroom environment and carefully imaging the drive before further degradation occurs.
3. Media Damage (Surface Contamination or Platter Scratches)
If the drive has been dropped or operated in a high-humidity environment, internal contamination or mechanical impact can cause physical damage to the platters. Even minor scratches on this high-density 6TB drive can result in major data loss. Our imaging process uses hardware-level tools to skip unreadable sectors and extract what remains.
4. Motor Seizure or Spindle Failure
Seized motors or stuck spindles prevent the platters from spinning up entirely. This is more likely if the drive was moved or knocked while powered off or during operation. Motor replacement or platter transplantation to a matching donor chassis is required in severe cases.
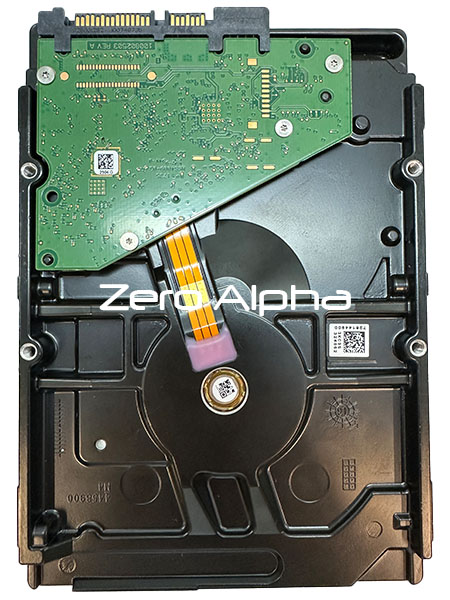
5. PCB Damage and Burn Marks
The printed circuit board (PCB) on the ST6000DM003 can burn out from sudden power spikes or using an incompatible power supply. In such cases, it’s not enough to simply replace the board—firmware calibration data stored on the original PCB must be preserved and transferred to the new board.
6. SMR Write Complications
The ST6000DM003 uses Shingled Magnetic Recording (SMR) technology, which can complicate recovery. SMR writes data in overlapping tracks, making recovery of fragmented or partially overwritten data more complex and time-consuming, particularly in degraded or unstable drives.
Seagate ST6000DM003 Data Recovery Caselog
25Oct23: Clicking. MHA Swap. 9B,V11. No FW access. Full data access. Recovered some data. Techmode patch. Built Heads map. MRB. Heads 1,3,5,6,7 were weak.
27Oct23: Drive performs significantly better after altering the HDD ID config:

Terminal output:
Boot 0x0100MAF11300001
SpinUp
RECOV Servo Op=0100 Resp=0005
ResponseFrame 19C0 0000 0000 2F40 0000 0000 0000 0000 115B 0000 CE00 0000 CE00 0000 0000 0000 0000 0DA6 0005 4957 0005 F28C 0008 0001 0000 1459 0000 0000 0000 0000 0000 0000 0004
TCC:0022
RECOV Servo Op=0195 Resp=0005[LBA=0x000271C8]N
RECOV Servo Op=0095 Resp=0005[LBA=0x000013A1]N
Trans
Tech Unlock Handshake: 0x0CC64857
Reply:
Rst 0x0100MAF11300001
(P) SATA Reset
NVCScram Saved HB Size:020A
LD: MD_Alloc:00000090 HB_Alloc:0000 MD_Alloc:80380000 HB_Alloc:8032 FlashRestorePowerDevReg 7E: 7001 PowerDevReg 7D: 0044 MD_Saved:00000090 HB_Saved:00000000 MD_CRC:5A8D
PP: MD_Alloc:00016800 HB_Alloc:0000 FlashRestore
PVTSize: 00082188 CompSize: 00001068 DeCompSize: 00082188 MD_Saved:00001068 HB_Saved:00000000 MD_CRC:CE10
MC: MD_Alloc:00003000 HB_Alloc:0000 FlashRestore
DataLength: 00000310 MD_Saved:00000310 HB_Saved:00000000 MD_CRC:4C0E DataLength: 00001068
RECOV Servo Op=01A5 Resp=0005
DSP0163
2Sync:0 4
NECS: CorruptedSectorsRecon - Head:00002D14 Tail:00002D14
LastWrittenDiscLBA : FFFFFFFFFFFFFFFF
MCMainPOR: MediaCacheDiscStateFlags 0000002A MCStateFlags 00405141
RECOV Servo Op=00A5 Resp=0005
RECOV Servo Op=01A5 Resp=0005
6Gb Max Speed lowered to 3Gb for Intel bug
Send Status: COMRESET seen
FIS34
RECOV Servo Op=00A5 Resp=0005
RECOV Servo Op=01A5 Resp=0005
ENP0163
2Sync:1 C
RECOV Servo Op=00A5 Resp=0005
RECOV Servo Op=01A5 Resp=0005
RECOV Servo Op=0095 Resp=0005
RECOV Servo Op=01A5 Resp=0005
RECOV Servo Op=00A5 Resp=0005
RECOV Servo Op=0195 Resp=0005
RECOV Servo Op=0295 Resp=0005
RECOV Servo Op=0395 Resp=0005
RECOV Servo Op=0495 Resp=0005
RECOV Servo Op=0595 Resp=0005
RECOV Servo Op=0695 Resp=0005
RECOV Servo Op=01A5 Resp=0005
RECOV Servo Op=00A5 Resp=0005IDLE1IDLE1
Seagate ST6000DM003 DIY Data Recovery Caselog
22Apr24: ST6000DM003 SN: WCT3. Customer opened drive himself. Bad heads.
After MHA swap:
Terminal Output:
Boot 0x0100MAF11250001
SpinUp
FAIL Servo Op=0100 Resp=0007
0100 9000 0000 0001 0000 9000 0000 0000 0000 0000 0000 0000 0000 0000 0000 0000 0000 0000 0000 0000 0000 0000 0000 0000 0000 0000 0000 0000 0000 0000 0000 0000
ResponseFrame 1580 0000 0000 44C0 0000 0000 0000 0000 0D25 0000 CE00 0000 CE00 0000 0000 0130 4AF0 FFFF 2000 0002 0000 0203 0000 0000 0000 0000 0000 0000 0020 2247 001A 0009 0004 Loop=2247
0300 9000 0000 0001 0000 9000 0000 0000 0000 0000 0000 0000 0000 0000 0000 0000 0000 0000 0000 0000 0000 0000 0000 0000 0000 0000 0000 0000 0000 0000 0000 0000
0F00 0000 0000 0000 0000 0000 0000 0000 0000 0000 0000 0000 0000 0000 0000 0000 0000 0000 0000 0000 0000 0000 0000 0000 0000 0000 0000 0000 0000 0000 0000 0000
0501 0016 0000 0000 0000 0000 0000 0000 0000 0000 0000 0000 0000 0000 0000 0000 0000 0000 0000 0000 0000 0000 0000 0000 0000 0000 0000 0000 0000 0000 0000 0000
0001 DFFE 0000 0010 0000 0000 0000 0000 0000 0000 0000 0000 0000 0000 0000 0000 0000 0000 0000 0000 0000 0000 0000 0000 0000 0000 0000 0000 0000 0000 0000 0000
FAIL Servo Op=0400 Resp=0003
0400 0000 0000 0000 0000 0000 0000 0000 0000 0000 0000 0000 0000 0000 0000 0000 0000 0000 0000 0000 0000 0000 0000 0000 0000 0000 0000 0000 0000 0000 0000 0000
ResponseFrame DDB8 0010 0001 FFFD 0000 D434 013D FF82 0000 0001 8D68 0000 CE00 0000 0000 0130 4AF0 FFFF 2000 0002 0000 FFFF 0000 0007 000A 0000 0001 0000 0000 0032 001B 0000 0007
0300 9000 0000 0001 0000 9000 0000 0000 0000 0000 0000 0000 0000 0000 0000 0000 0000 0000 0000 0000 0000 0000 0000 0000 0000 0000 0000 0000 0000 0000 0000 0000
0F00 0000 0000 0000 0000 0000 0000 0000 0000 0000 0000 0000 0000 0000 0000 0000 0000 0000 0000 0000 0000 0000 0000 0000 0000 0000 0000 0000 0000 0000 0000 0000
0001 4342 0000 0011 0000 0000 0000 0000 0000 0000 0000 0000 0000 0000 0000 0000 0000 0000 0000 0000 0000 0000 0000 0000 0000 0000 0000 0000 0000 0000 0000 0000
0201 0000 0000 0000 0000 0000 0000 0000 0000 0000 0000 0000 0000 0000 0000 0000 0000 0000 0000 0000 0000 0000 0000 0000 0000 0000 0000 0000 0000 0000 0000 0000Bad Head ITA:07
FindBadHeads 00F8
Seagate ST6000DM003 Clicking Data Recovery Caselog
1May25: The customer mailed in hard drive for data recovery. The drive clicks,sounds scratchy and spins down,0007 in the terminal. Head vendor default, no preamp in ROM. Logical head map......... : 01 02 03 04 05 06 07 07.
pcb 100802503 Rev A
20May25: Mha SWAP. Techmode patch. MRB.Built heads map.